3. From the wpEngine dashboard, you can access the corresponding environments WordPress admin panel as shown in the image below.
How to Update an Existing Table
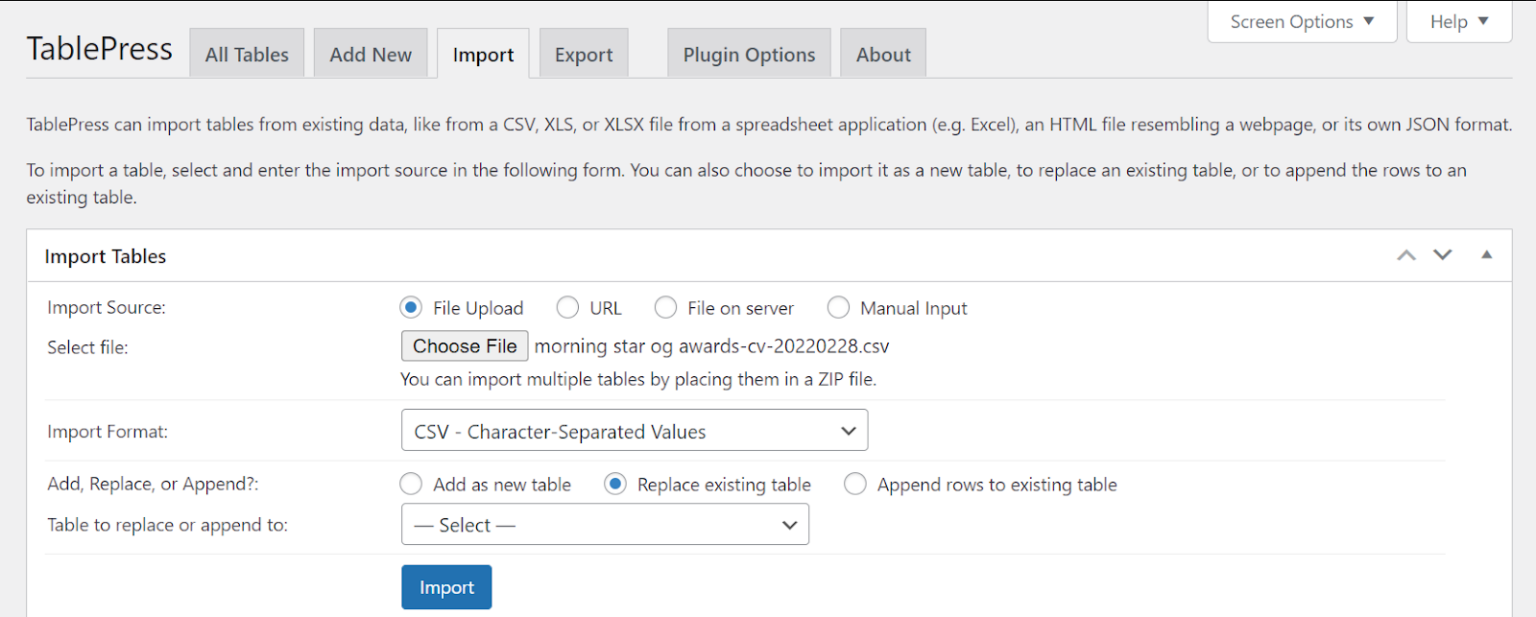
1. Go to Dashbord > TablePress > Import a Table
2. Choose the desired CSV file to replace the table
3. Choose import format as CSV in this case
4. Check the option Replace ‘Existing Table’
5. Select Table to replace in “Table to replace or append to” option and Click import
You can add/replace multiple tables by placing them in a ZIP file. Make sure the table names match when replacing; otherwise, it will create a new table.
Preview Updated Table
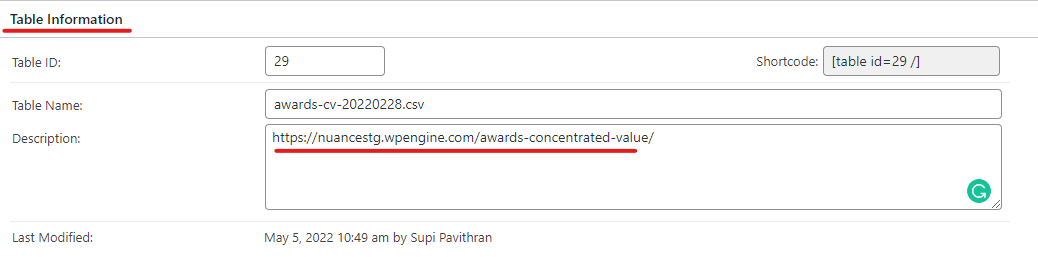
When the update is complete, the page is redirected to the table Settings page.
1. You can find the page url’s where these tables are used under the table information section.
2. To see a preview of the changes, go to this url.
Copy Environment ( STG to PRD / PRD to STG )
There are two methods for copying environments:-
Method 1 replaces the complete destination database with the source database. Please ensure that every content in the destination environment is also available in the source environment when migrating the whole database from stage to production or from production to stage, otherwise, these contents will be erased.
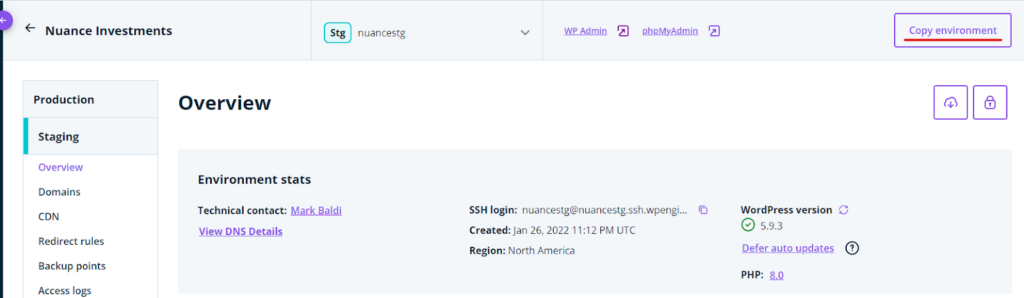
Method 1: Copy Entire Environment
1. Log in to the User Portal
2. Select an environment name
3. Click Copy environment on the top right
A fresh backup will be made automatically of the source and target environments when the copy is initiated. You can also create a manual backup See More About Backups.
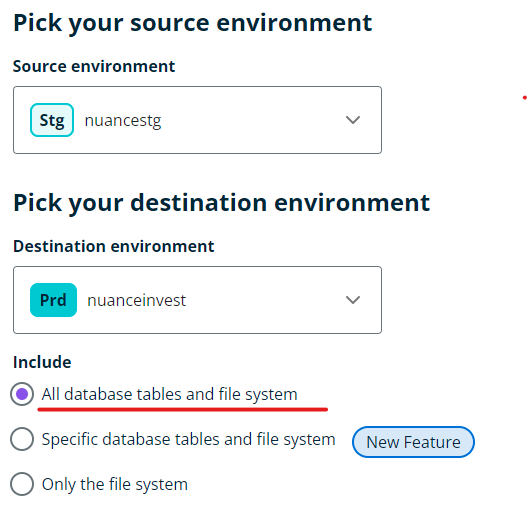
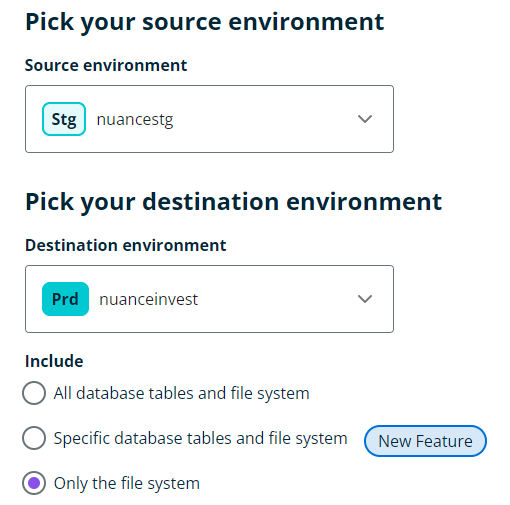
Source environment: Ensure this is the correct environment that you want to copy content and/or data from
Target environment: Select the desired environment you wish to copy to
4. Select the “All database tables and file system” option
5. Click “Review and Confirm”
Swap the source and destination for production to stage migration.
Method 2 (For Selected contents)
If you only want to migrate posts, pages, or table data sections, this method can be used.
STEP 1:
To Copy (media, images, stylesheets, plugin files, scripts)
If you don’t need these migrations, skip this step; if you do, make sure you backup your data manually See More About Backup.
1. Log in to the User Portal
2. Select an environment name
3. Click Copy environment on the top right
4. Select Only the file system option
5. Click Review and confirm
STEP 2 :
Export all (posts, pages, comments, custom fields and terms)
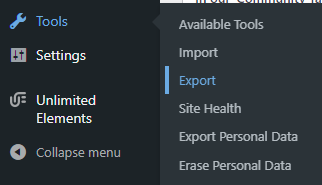
1. Go to the dashboard for the source environment.
2. Dashboard > Tools > Export
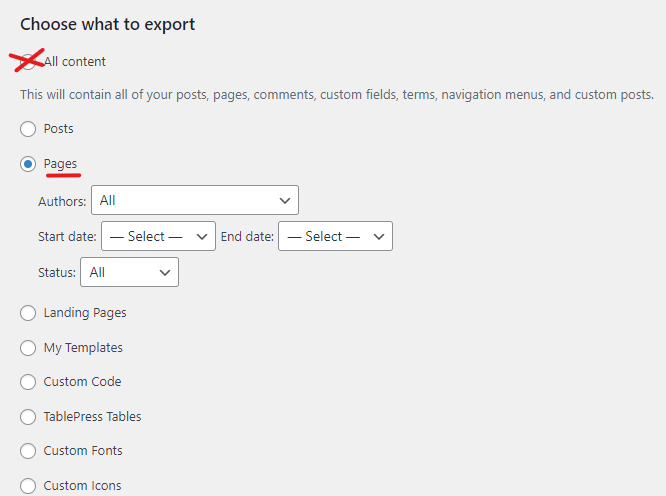
3. Select Any section you want to copy and Click Download
Always turn off the All content section because it can result in duplicate navigation.
4. Go to the dashboard for the Destination environment.
5. Tools > import > WordPress Run importer
6. Upload the prior source download file
7. Click Upload File and Import
8. If you like, you can change the author or Skip
9. Click Submit
If you have any problems during the migration, choose Method 1.
Make a Backup Checkpoint
Backups are automatically taken nightly, but if you’re planning to make changes to your site you will typically want to make a fresh backup checkpoint before proceeding.
A fresh backup will be made automatically of the source and target environments when the copy is initiated. You can also create a manual backup
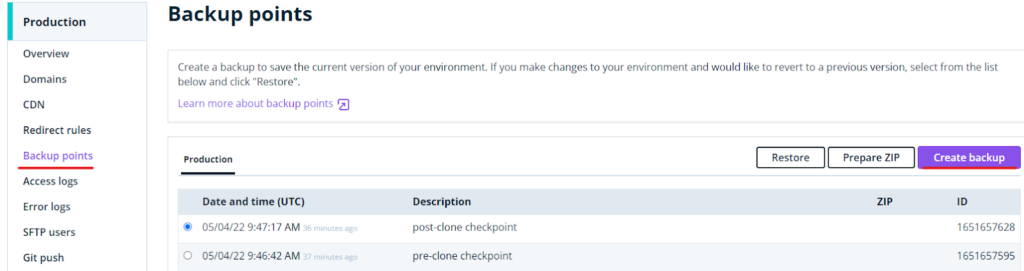
1. Open Backup Points in the User Portal
2. Click Backup Now
3. A second window will pop up with required fields
4. Click Create environment-type Backup
To download the backup, check the box radio box and then click “Prepare Zip.”
Roll Back to Previous Version
1. To restore (or rollback) your website to a previous version:
2. Open Backup Points in the User Portal
3. Select a backup from the list by clicking the radio button
4. Backup are in server time UTC
5. Click Restore
6. A window will pop up with required fields:
7. Restore to — Select an environment name to restore this backup to
8. Restore with database — Check to restore database information OR Uncheck to restore files only. The partial database selection of specific tables is not an option.
9. Send notification to — List email addresses, separated by commas, to receive a notification when the restore completes
10. Click Restore Backup
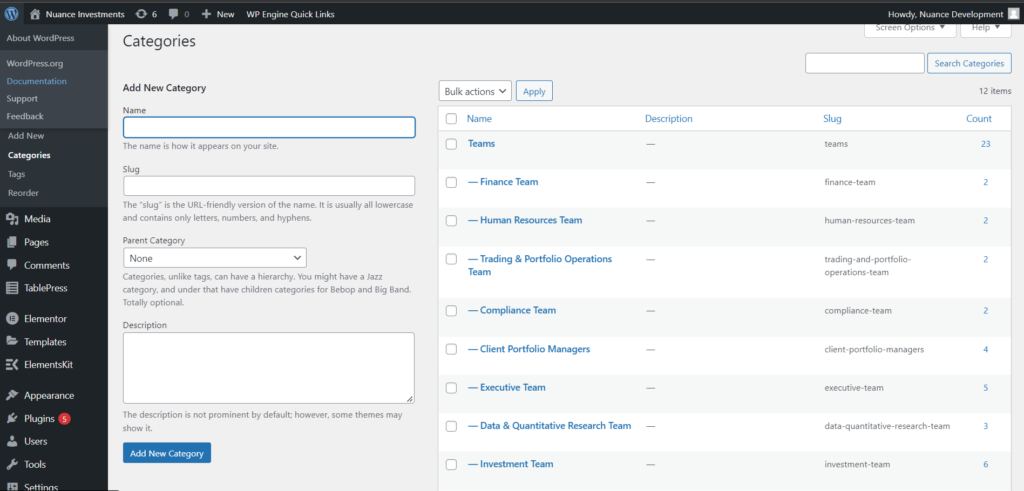
How to create a team category
1. Log in to your WordPress Dashboard.
2. Click the Posts link in the navigation menu.
3. Click the Category sub-menu.
4. Fill the required fields and click “Add New Category”
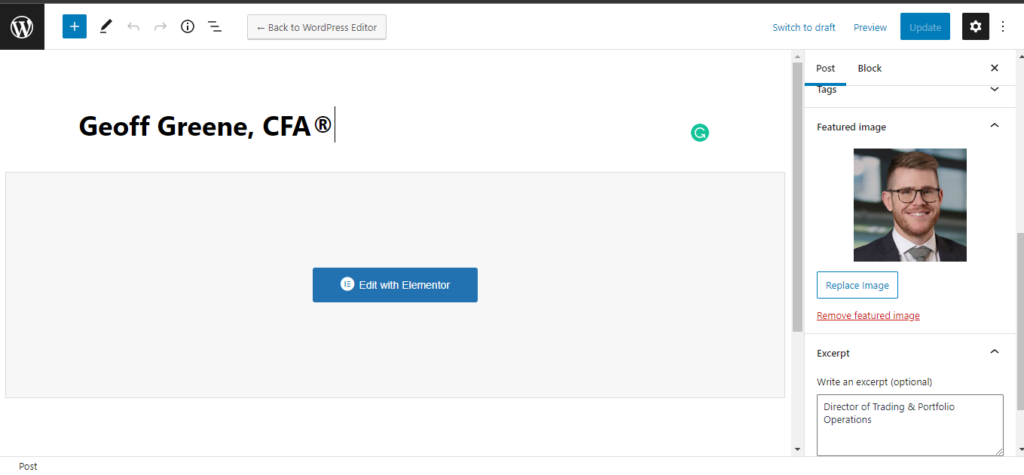
Creating a New Team Member Post
1. Log in to your WordPress Dashboard.
2. Click the Posts link in the navigation menu.
3. Click the Add New button on the Posts page.
4. Enter the team member’s name as title
5. Set featured image and excerpt as shown below
6. Likewise, choose the categories to which the team member belongs.
7. Once you have entered your information in the Post, click the Publish button.
8. Click Edit With elementor to import the Predefined template
You can modify or delete a post using the options listed above.
1. Click Edit to change Title/Image/Excerpt 2. Click Edit with Elementor to change Member descreption
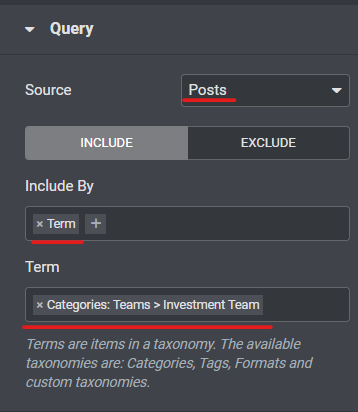
Adding Members to Team Page
1. Select teams posts widget
2. Select Query from the content section.
3. Select the highlighted choices above.
4. Choose the appropriate team member category under the team section.
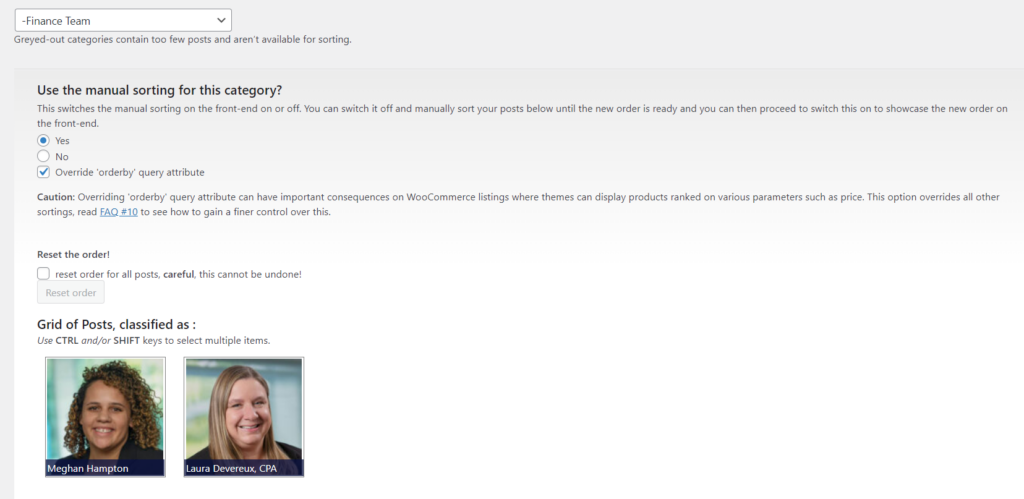
Reordering Team Members
WP Admin >Posts > Reorder
1. Choose the category that requires reordering.
2. To reorder, drag and drop the team member image.
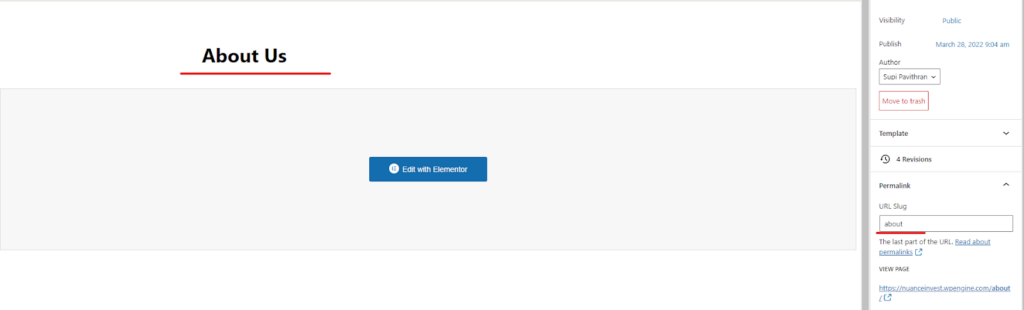
Create a New Page
WP Admin >Pages > Add New
1. Name your page and set a slug (by default, title is used as a slug)
2. Click Publish
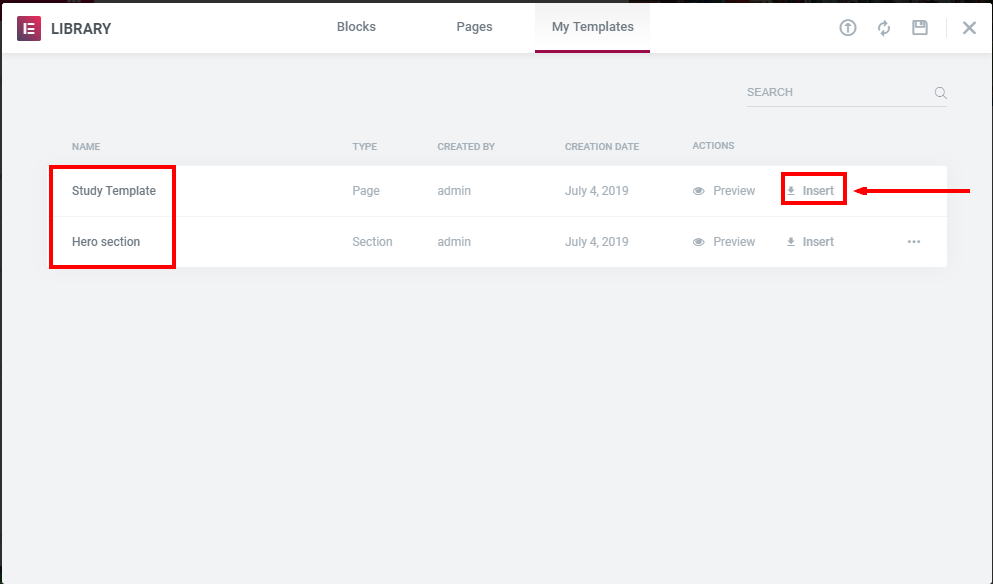
Inserting Saved Templates
WP Admin >Pages > Select your page >Edit With Elementor
We have already produced templates that are often utilised.
1. Click on the folder icon in the Elementor widget area.
2. In Elementor library, select My Templates tab. Here you see your previously saved template. For inserting template click on the Insert button, the template will be added into your layout.
After that, you can make whatever changes you want and click on update.
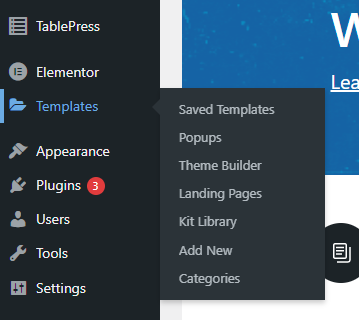
Edit Existing template:
We have already produced templates that are often utilised.
We can also edit the existing templates from :
DashBoard > Templates > Saved Templates
Note:-When we use templates to create some pages, any changes to the template layout are not reflected in the previously created pages. (except for header and footer)
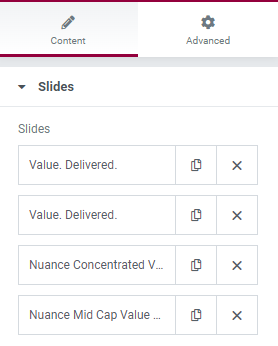
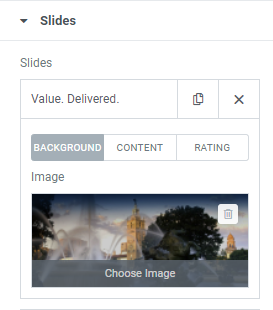
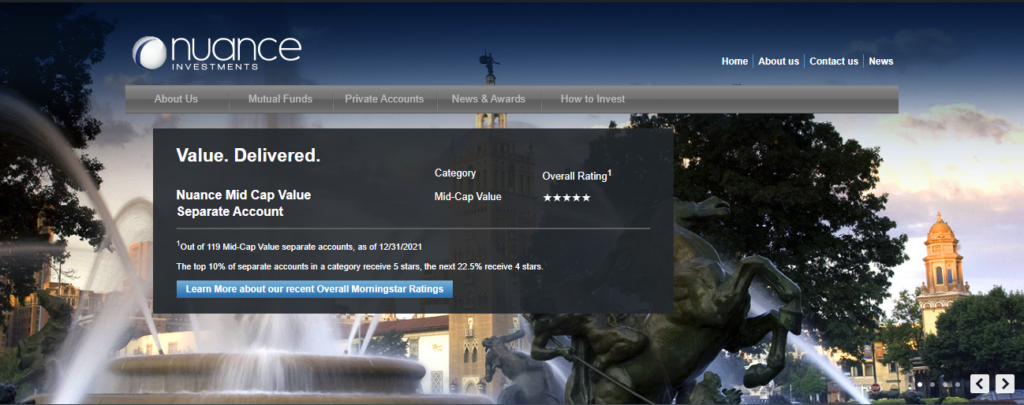
How to Update Home Page Slider
1. Goto Elementor Editor
2. You can find all of the slides in the content section.
Options
Background: For changing the slider image
Content: For Changing the content of the slider
Rating: Set rating value and enable or disable the rating section.
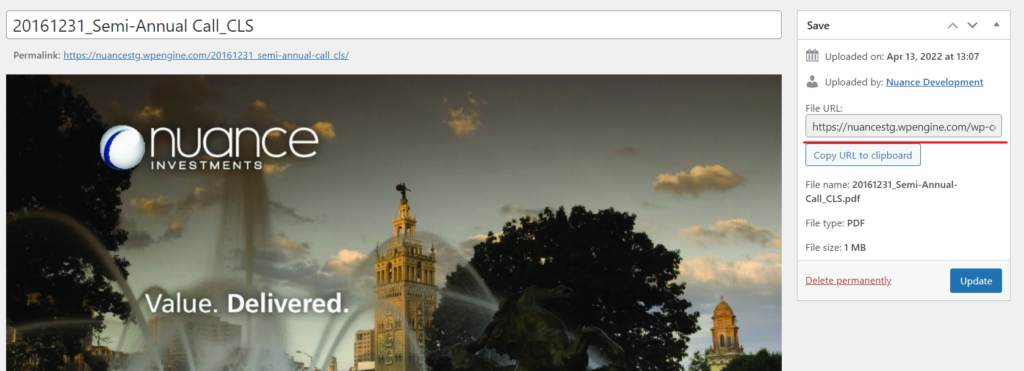
4. Important: Select the link starting from “/wp-content/uploads/2022/04/20161231_Semi-Annual-Call_CLS.pdf“
5. Select the component where you want to link the media.
WP Admin > Media
1. Search or select a media
2. Open the media file
How to Create HTM Pages
1. Create a New page and import HTM template.
2. Use HTML widget
3. Copy and paste the entire htm file code into the widget mentioned above.
4. Or a sample htm file is present when importing the HTM template, You can replace the one that is currently in place.
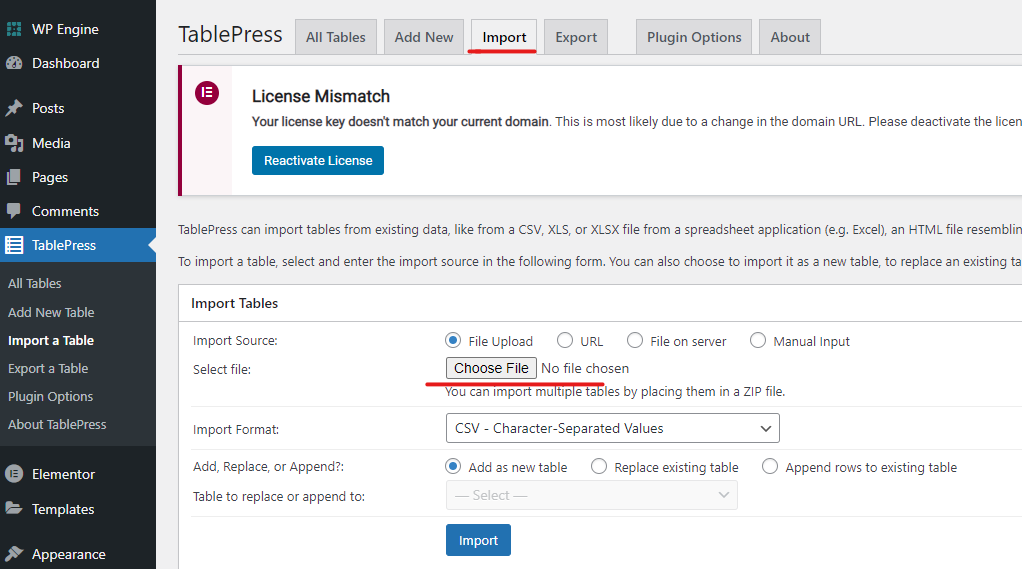
Create a New Table:
WP Admin > TablePress. This page is the control center of the plugin.
1. To start, click the “Import” button.
2. Choose the csv file to import.
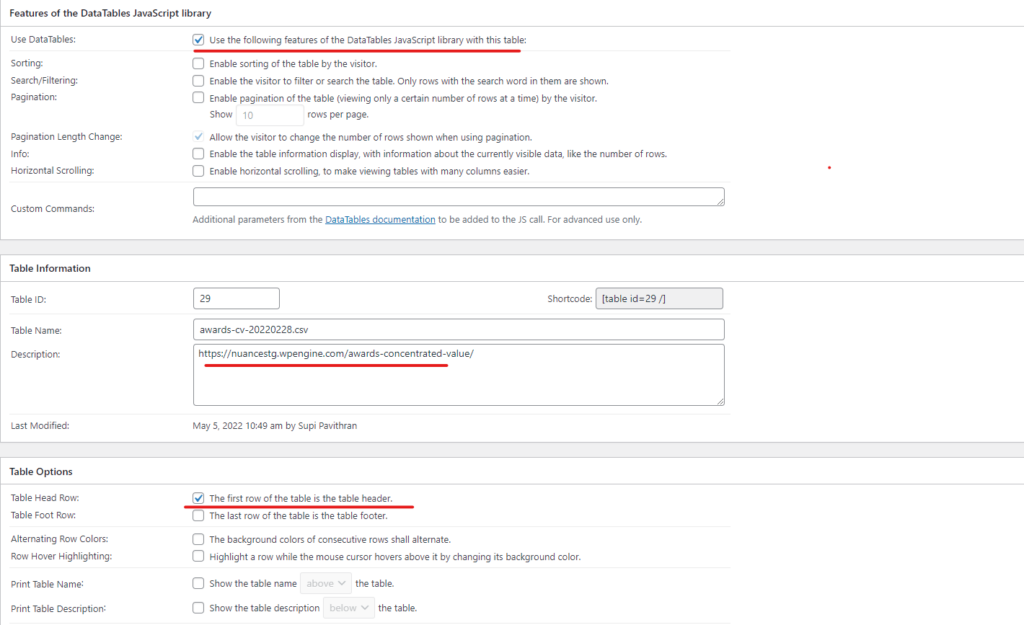
3. The page is then redirected to the page for table settings.
4. Only the fields shown below should be checked.
5. Edit the table cells if necessary To add a newline in cell contents use <br/> tag . To display superscript we can use <sup></sup> tags.
6. For future reference, under the table description add the page url where this table is used
Adding a new table to a Page:
1. Copy the shortcode of the table to be displayed from the tablepress plugin
2. In the page choose one of the following custom elementor shortcode widget depending on the table type:
For rating tables :- Rating Table Shortcode widget
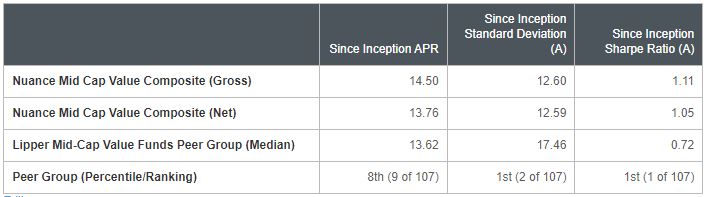
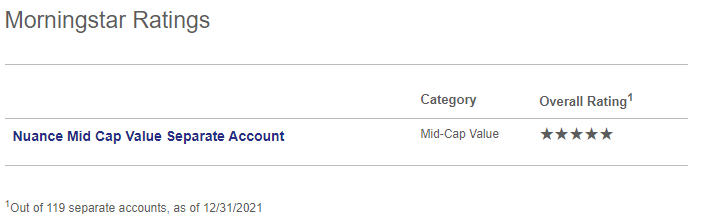
For the remaining tables(Performance,Morning star,Lipper and portfolio) :- Performance Table Shortcode widget
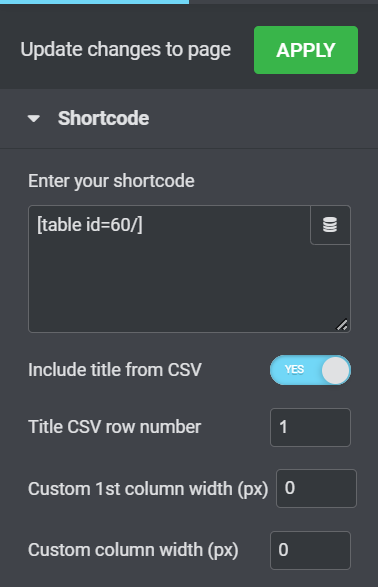
3. Paste the copied shortcode in the shortcode widget box .
4. Check or uncheck whether you want to display title and date from the CSV
5. You can also change the row number of the title and date from the CSV, by default the title and date are taken from the first row (1st cell is considered as the value for title and 2nd cell is considered as value for date from the configured row).
6. The column width can be edited using two options
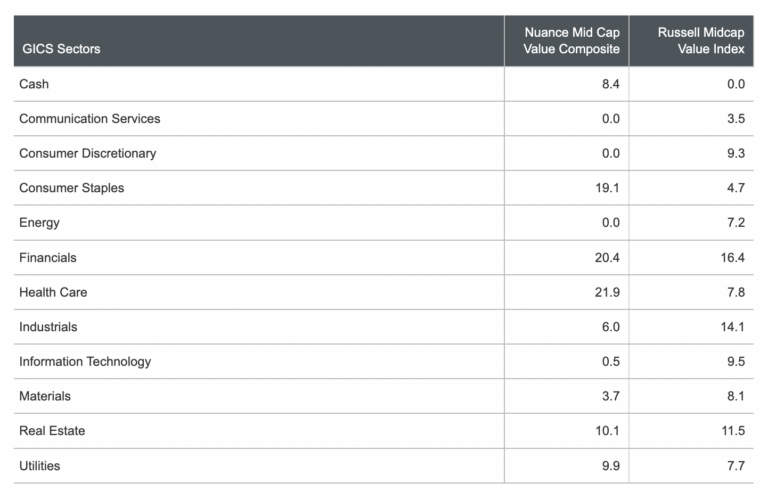
a)Custom 1st column width: This option is to add a custom fixed width to the 1st column, this is used for tables with extra large width on the 1st column (pls see the example below)
b)Custom column width: this is to set a fixed column width for all the columns in the table except for the 1st column (use the above mentioned property to set width for 1st column)
7. Click Update
8. By clicking the eye icon next to the update button, you may see a preview of the page.
How to Replace Media Files
WP Admin > Media
1. Choose the media that needs to be replaced.
2. Select the file to replace.
3. There are two replacement alternatives. choose the one you need.
a) Just replace the file
Note: This option requires you to upload a file of the same type (For example pdf files should only be replaced with other pdf files) as the one you are replacing. The name of the attachment will stay the same no matter what the file you upload is called.
b) Replace the file, use new file name and update all links
Note: If you check this option, the name and type of the file you are about to upload will replace the old file. All links pointing to the current file will be updated to point to the new file name. (If any other websites link to the file directly, those links will no longer work. Be careful.)
4. Click “Upload”
How to Update Global Widgets
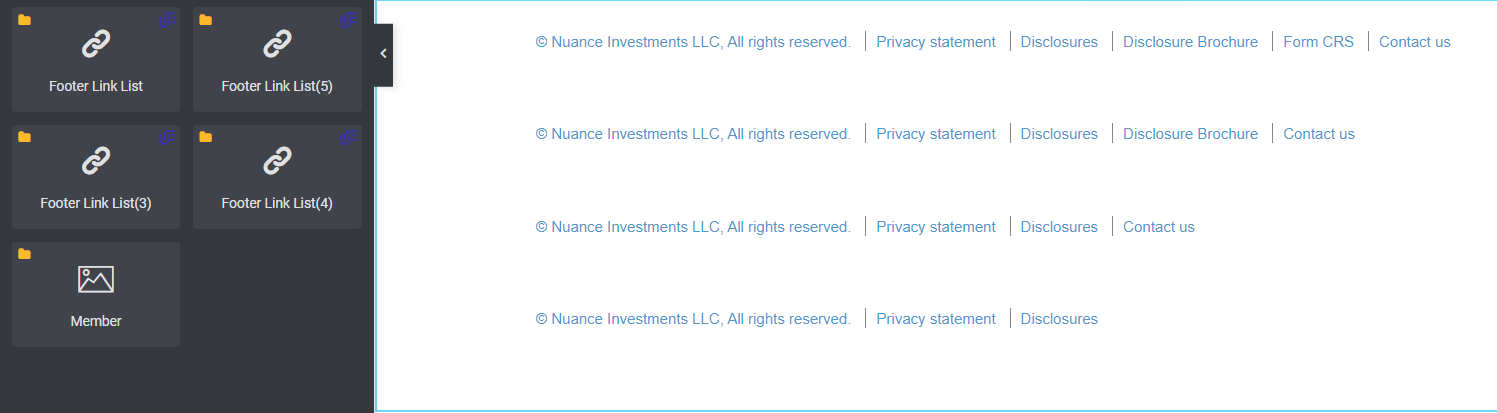
There are primarily four types of footer lists.
Note: Any changes to the global widget will affect the widget’s data globally.
1. Navigate to the page and open the elementor editor.
2. Select the global widgets
3. Click “Edit”
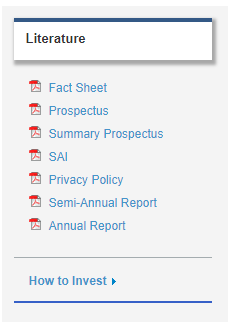
Templates
Below is a list of the major template used and an example page that is using these templates:
Mutual funds news: Extension for right sidebar templates that contains pdf data related to Annual reports but with a different User Interface Pages used: https://nuanceinvestments.com/news/